How to Use GPT Image 2: Generate, Edit, and Export Images Step by Step
GPT Image 2 lets you generate 4K images, edit photos, and render text inside visuals — all by typing what you want in plain English. This guide covers everything from your first prompt to advanced workflows like character series, API automation, and multi-region image editing.
Jump to
What you need to start
- A browser — no software to install or GPU required
- A free account to claim your 10 welcome credits
- A clear description (prompt) of the image you want to create
Trial Pack: 10 free credits (up to 5 images) · Quality evaluation only.
Credit Packs: Commercial license · High-res output · Credits never expire — packs start from $9.9 (one-time).
How to Generate Your First Image with GPT Image 2 (3 Steps)
From opening the tool to downloading your first result — under 5 minutes.
Step 1 — Open GPT Image 2
Go to GPT Image 2. Simply use the text input field at the top of the page to start your evaluation instantly. Once you're ready, sign up to claim your 10 free credits."
Step 2 — Type a Prompt
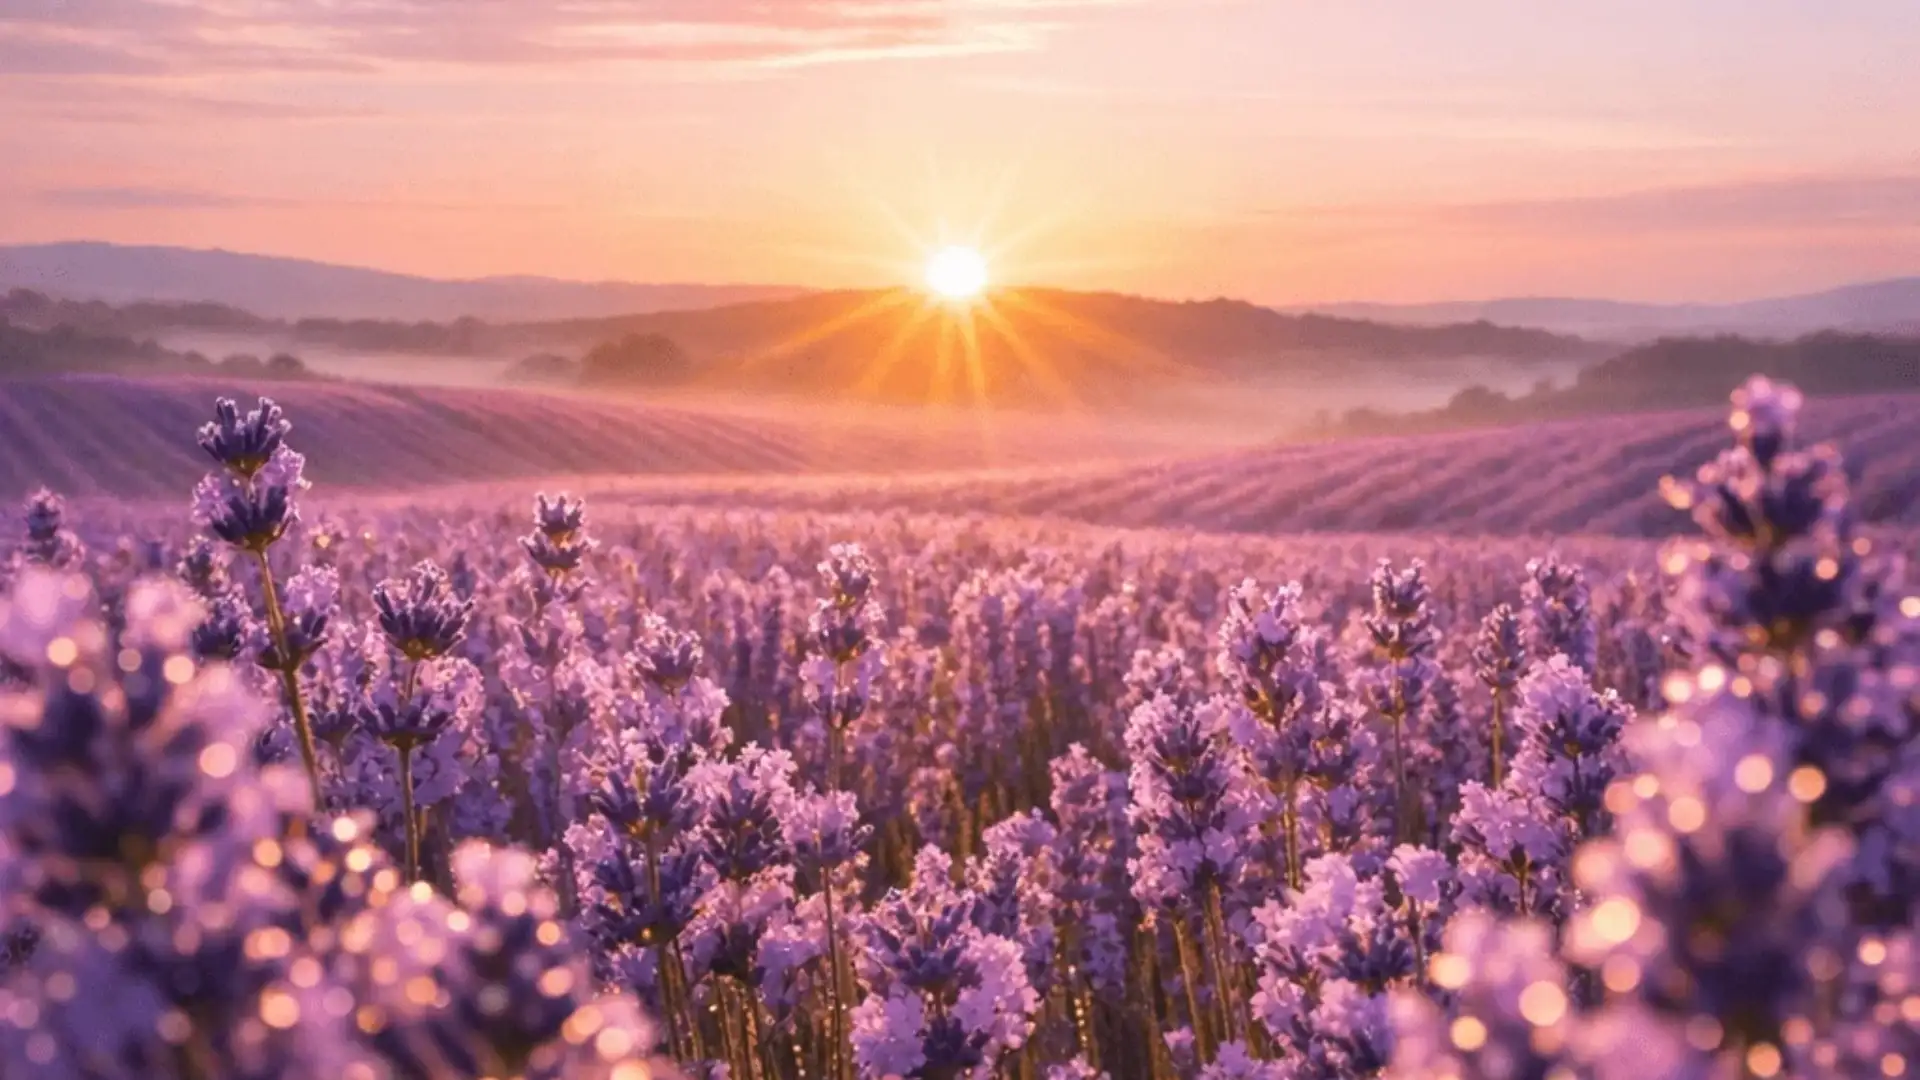
In the input field, describe the image you want. Use plain English. Include subject, background, lighting, and style when you can.
You don't need every element every time. The more specific you are, the closer the first result will be.
Step 3 — Generate & Refine
Click Generate. Your image is ready in about 4–8 seconds. Your high-quality result is provided automatically for immediate download.Advanced features like background removal are included with any paid Credit Pack.
Fine-tune with ease. If the output isn’t quite right, simply adjust your description directly in the prompt field. You can tweak the details and re-generate until the image matches your vision exactly.
How to Write Prompts for GPT Image 2 (With Examples)
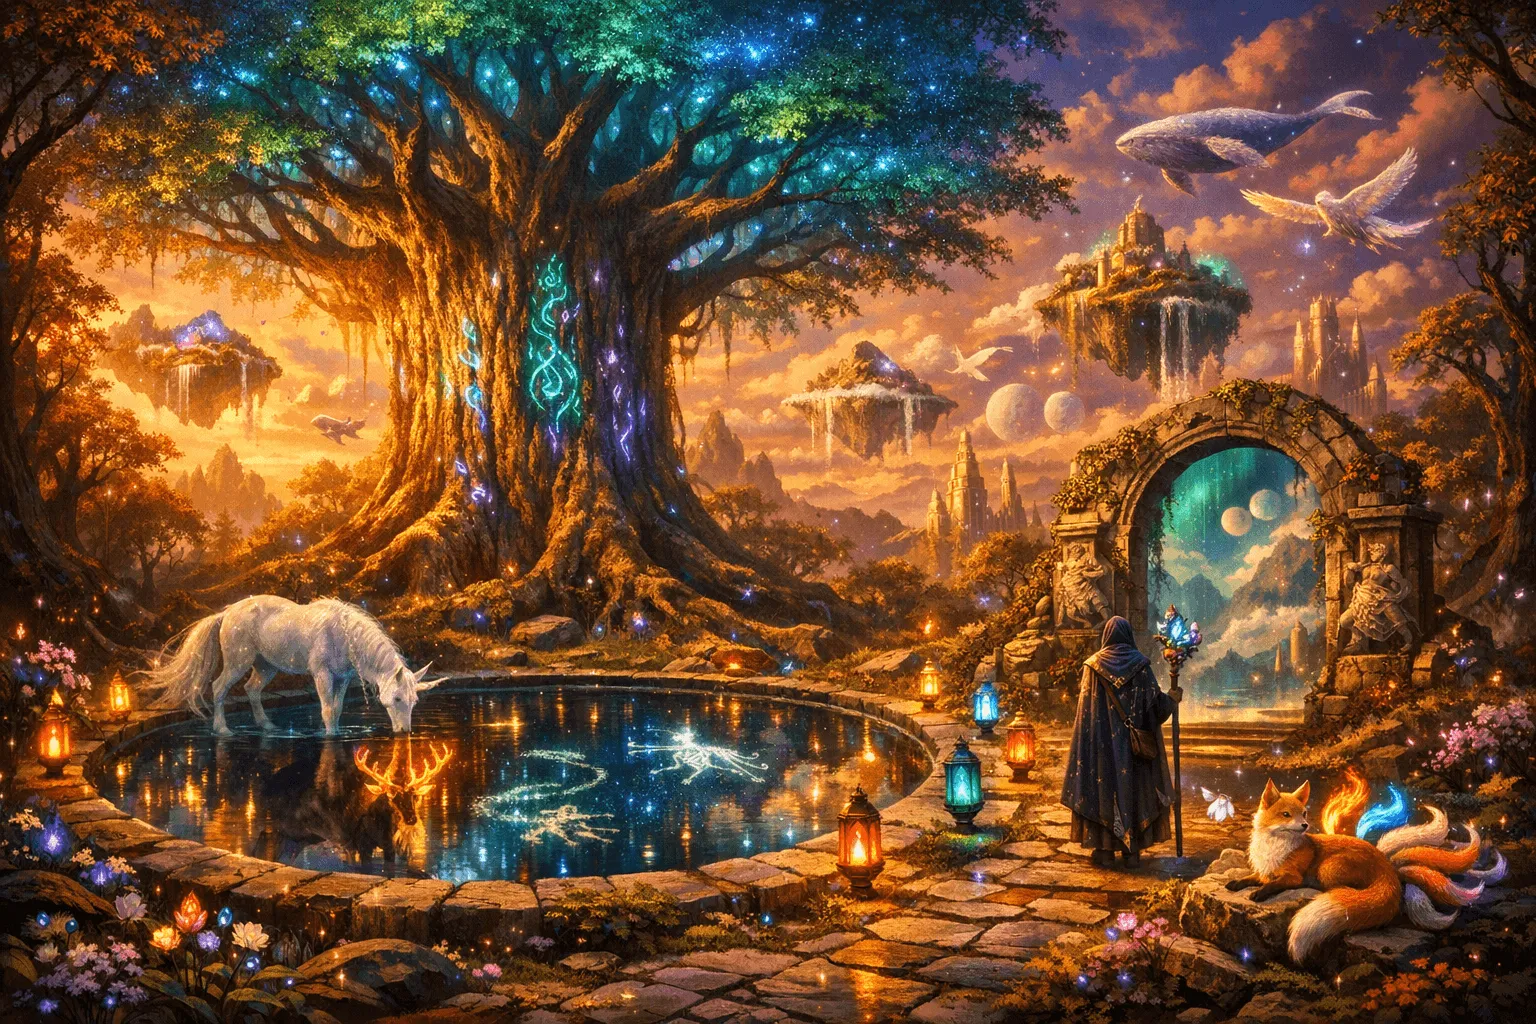
A better prompt gets you closer on the first try. Use: [Subject] + [Background] + [Lighting] + [Style] + [Resolution] — a priority list, not a rigid formula.
Clean studio shot for listings.
Put exact text in quotes — e.g. reading 'MOVE FORWARD'.
For follow-ups, re-describe the character in brackets at the start of each prompt.
Label each text element explicitly.
5 prompt mistakes that produce bad results
- Too vague — "a nice product photo" → Name product, surface, lighting, style: "a ceramic coffee mug on a wooden table, warm side light, lifestyle photography"
- Contradictory instructions — pick one lighting mood and stick to it.
- Vague text — quote the exact string: "reading 'SUMMER SALE 50% OFF'"
- Too many heroes at once — one main idea per prompt; add more in follow-up edits.
- Brand colors without specs — use hex or names: "deep navy (#1B2A4A) and warm white (#FAF8F5)"
How to Edit an Existing Image with GPT Image 2
Upload any image and describe the change. No masking or layers. PNG or JPEG up to 10MB.
- Click the upload icon next to the prompt field
- Upload your image
- Type what you want changed
- Click Generate
- Replace the background with a white studio wall, keep the subject
- Change the background to a sunset beach scene, keep the foreground intact
- Remove the coffee cup from the left side of the image and fill it naturally
- Remove the watermark in the top-right corner
- Change the jacket from red to navy blue
- Make the overall lighting warmer — golden hour tone
- Convert to black and white, high contrast
How to Add Readable Text Inside GPT Image 2 Images
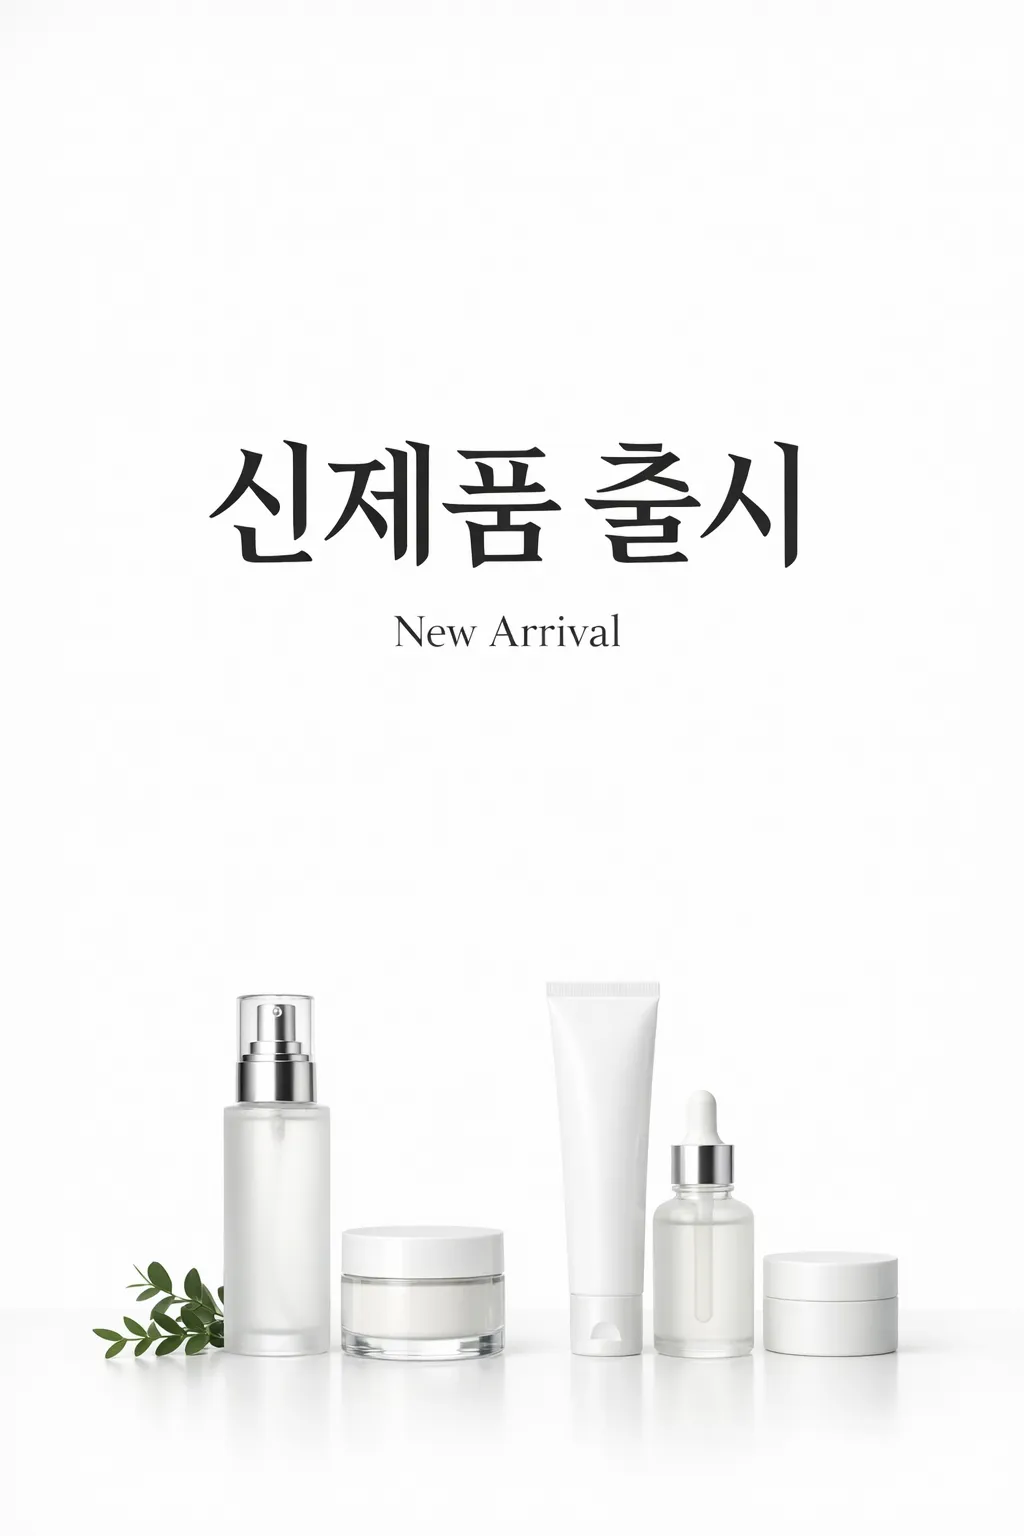
Put the exact text you want in quotation marks inside your prompt. The model treats quoted text as literal.
Select your preferred aspect ratio (2:3, 1:1, or 3:2) from the settings menu. There's no need to mention dimensions in your text—the model handles the layout automatically.
Chinese, Japanese, Korean, Arabic, and Devanagari work with the same quoting method.
Resolution and Aspect Ratio
Set your resolution and quality levels before you generate. Choosing the right aspect ratio first ensures the model optimizes the composition for your specific layout.
| Output Quality | Credits | Best For |
|---|---|---|
| Medium Quality (~1024px) | 2 Credits / Image | Social media posts, blog headers, and quick ideation. |
| High Quality (Pro) | 10 Credits / Image | Professional marketing assets, e-commerce, and high-end design. |
| 4K Ultra-ResolutionComing Soon | — | Print-ready materials and large-scale displays. |
| Ratio: 1:1, 2:3, 3:2 | — | Select in settings. No need to include dimensions in your prompt. |
Professional Delivery & Features
The system automatically selects the optimal file format for your specific generation to ensure the best balance between quality and performance. No manual configuration required.
Available on all Credit Packs ($9.9+). Download assets with backgrounds already removed—perfect for instant integration into Figma, Shopify, or Canva.
Practical Workflow Examples
Copy and adapt these high-performing prompts. Remember to set your aspect ratio and quality (Medium/High) in the settings menu before clicking Generate.
Pro tip: Use any Credit Pack to unlock professional background removal for these shots.
Leverage the 96% text accuracy to include headlines directly in your visual.
Best with 1:1 or 2:3 ratios. Describe the mood and elements together for a cohesive one-shot result.
One-Shot Prompting:Since each generation is independent, ensure your prompt describes the subject, environment, and lighting all at once for the most consistent professional quality. Paid Credit Packs ($9.9+) provide permanent credits so you can experiment without pressure.
Advanced — Maximizing Quality & Consistency
Maximize your Credit Pack by using Medium Quality (2 credits) for initial brainstorming and layout testing. Once you’ve perfected your prompt, switch to High Quality (10 credits) for the final professional-grade asset.
Since the model delivers its best work from a single, detailed instruction, include specific stylistic keywords like "cinematic lighting", "shot on 35mm lens", or "minimalist editorial style". This ensures the model aligns the entire composition without needing multiple adjustment steps.
We are currently developing a native 4K upscaling engine. This feature will allow you to take your 10-credit High Quality generations and enhance them for large-scale print and 4K displays. Stay tuned for this update—all existing Credit Pack users will get early access.
Note: GPT Image 2 is a focused creative tool for web use; it does not offer API access. All purchased credits are permanent and will never expire, giving you total freedom to create whenever inspiration strikes.
8 Pro Tips for GPT Image 2
- Describe light direction and source (e.g., "soft morning light from the upper left") for the most realistic shadows.
- Always use quotation marks when you need readable text in the image (e.g., "SALE NOW ON").
- The model works best in "One-Shot"—include subject, background, and lighting in a single, detailed prompt.
- Select your aspect ratio (1:1, 2:3, or 3:2) in the settings menu; do not mention dimensions in your prompt.
- Purchase any Credit Pack to unlock the one-click background removal feature for professional assets.
- Use Medium Quality (2 credits) to test your prompt ideas, then switch to High Quality (10 credits) for the final result.
- Since credits never expire, you can buy a pack once and use them at your own pace without subscription pressure.
- Start with your 10 free welcome credits to evaluate the quality before moving to a paid Credit Pack.
GPT Image 2 — Common Questions
Pricing & Usage Guide
Need more details? Visit our Pricing & Credit Guide.
Ready to Create Your First Masterpiece?
Try it instantly for free—no account required for your first few images. Sign up to claim your 10 welcome credits and experience professional-grade text rendering. No subscriptions, no hidden fees—just simple credit packs that never expire.